
How to Reset Network Settings in Windows 10 – Quick Fix
Ever struggled to reset network settings in Windows 10 when your internet suddenly stops working? You’re not alone. After the Anniversary Update (version 1607), Microsoft introduced the Network Reset utility specifically to help users quickly resolve stubborn connectivity problems.
When traditional troubleshooting fails to fix your Wi-Fi issues or slow internet speeds despite a strong signal, a network reset might be exactly what you need. Fortunately, this comprehensive solution works by removing and reinstalling every network adapter on your system, effectively reverting all configurations to their original factory settings. Before you reset Windows 10 network components, however, it’s important to back up your custom settings and note your Wi-Fi passwords, as the process clears all saved networks, adapters, and TCP/IP configurations.
In this guide, we’ll walk you through the entire process step-by-step, show you what to expect, and help you get your connection back up and running quickly. Let’s dive in and fix those frustrating network problems once and for all!
What Does Resetting Network Settings Do?
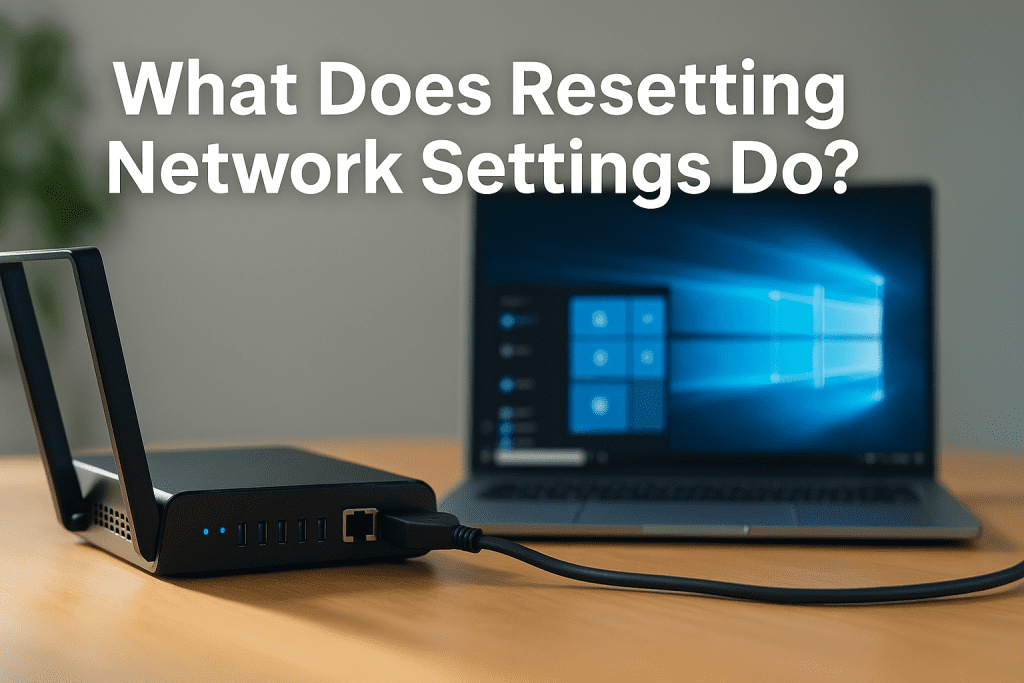
Network resetting in Windows 10 is essentially a clean slate approach for your device’s connectivity settings. This powerful troubleshooting tool affects multiple networking components simultaneously. Let’s explore exactly what happens when you initiate this process.
Removes saved Wi-Fi networks and VPNs
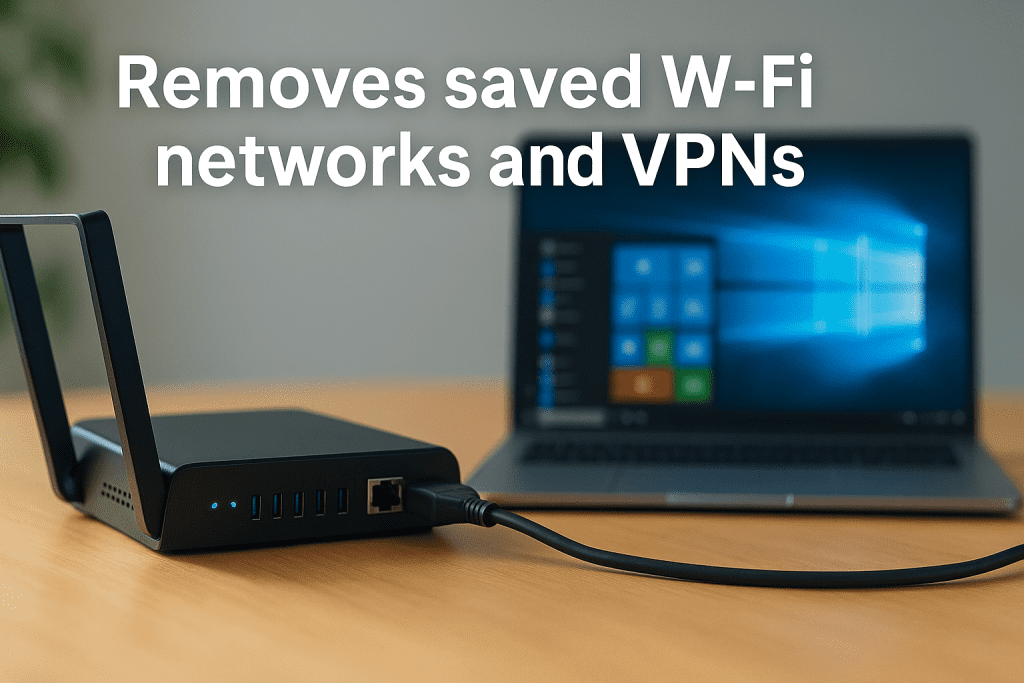
When you reset network settings, Windows 10 completely erases all saved Wi-Fi networks from your system. This means you’ll need to reconnect to each network and re-enter all passwords afterward. Additionally, your network profiles (like Private or Public designations) revert to their default state—typically Public—requiring manual reconfiguration if you previously customized these settings.
The reset also removes all VPN connections stored on your computer. If you use third-party VPN clients or similar networking software, you’ll need to reconfigure these applications after the reset. Furthermore, all connection histories and preferences associated with these services are wiped clean.
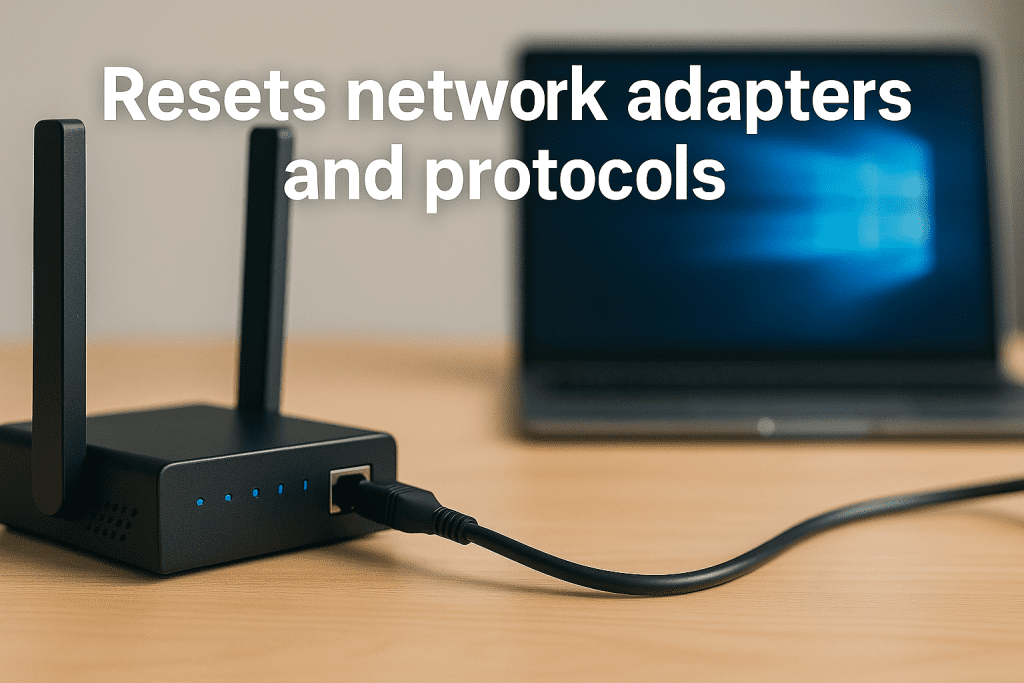
Resets network adapters and protocols
After completing the payment, kindly send us payment email address and a screenshot as proof, so we can activate your package.
A network reset removes and reinstalls all network adapters currently installed on your system. While this might sound concerning, Windows automatically reinstalls these adapters after your computer restarts. Nevertheless, any custom configurations you’ve applied to these adapters will be lost in the process.
The reset also affects Bluetooth connections. All pairing information for Bluetooth devices is erased, requiring you to re-pair headphones, speakers, and other peripherals. Essentially, your computer’s entire networking infrastructure returns to its factory state.
Restores default TCP/IP settings
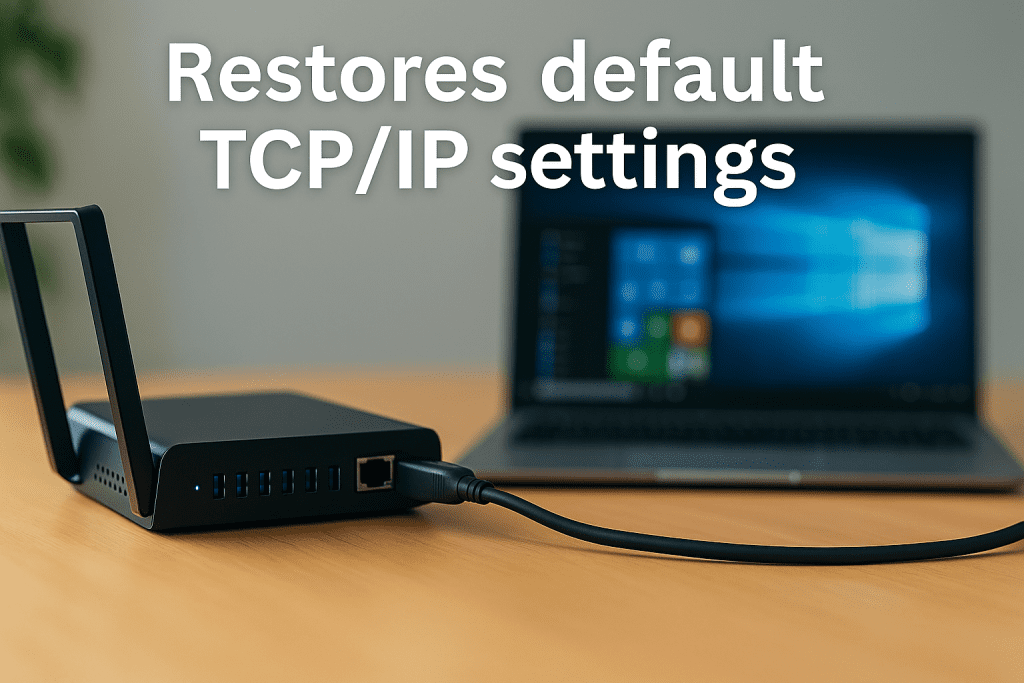
Perhaps most importantly, a network reset restores all TCP/IP settings to their original values. This includes clearing custom DNS server configurations, static IP addresses, and gateway settings. The process also resets Winsock entries and flushes the DNS resolver cache.
The reset runs commands similar to what you might manually enter in Command Prompt, including:
netsh winsock resetnetsh int ip resetipconfig /flushdnsipconfig /renew
Consequently, all network-related registry keys revert to their original state, effectively undoing any network customizations previously made. This comprehensive reset often resolves connectivity issues that targeted troubleshooting fails to fix.
When and Why You Should Reset Network Settings
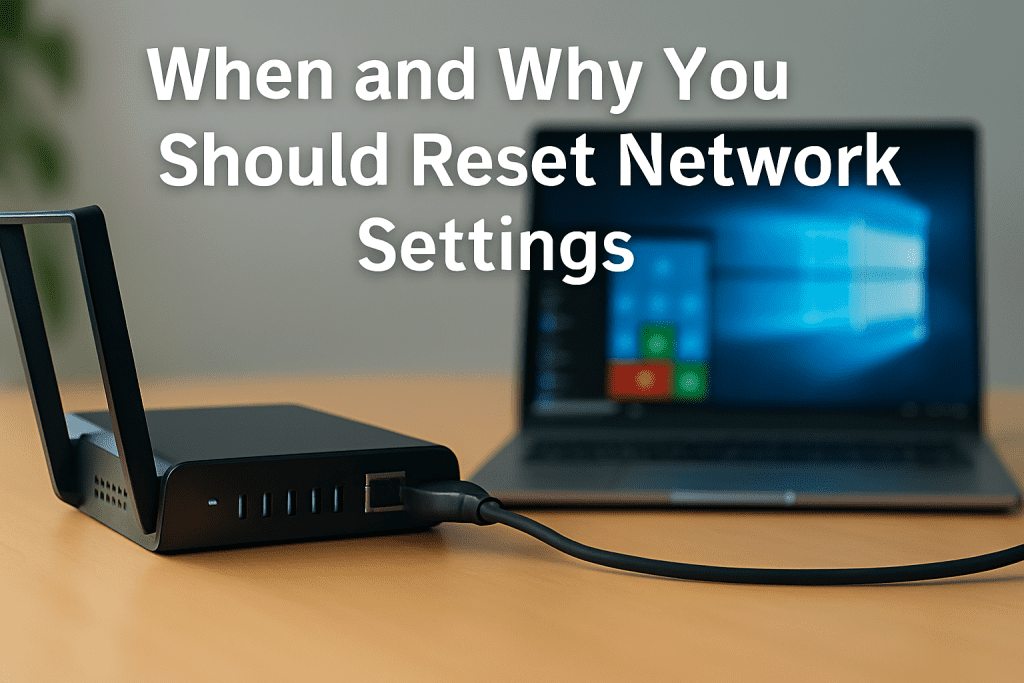
Network reset should be considered your last troubleshooting option in Windows 10, but when needed, it’s often the most effective solution. Understanding exactly when to use this powerful tool can save you hours of frustration with connectivity issues.
Fixing persistent Wi-Fi or Ethernet issues

When you’ve exhausted basic troubleshooting yet still experience stubborn connectivity problems, a network reset becomes appropriate. This approach is particularly useful for addressing:
- Connection problems that emerge after upgrading Windows versions
- Situations where you can connect to the internet but cannot access shared network drives
- Cases of recurring Ethernet disconnections despite showing “Internet Access” status
- Persistent “limited connection” notifications even with strong signal strength
Many connectivity issues stem from corrupted network settings that accumulate over time. In such cases, standard fixes like ipconfig /release and ipconfig /renew commands prove ineffective, making a full reset necessary.
Resolving adapter or driver conflicts
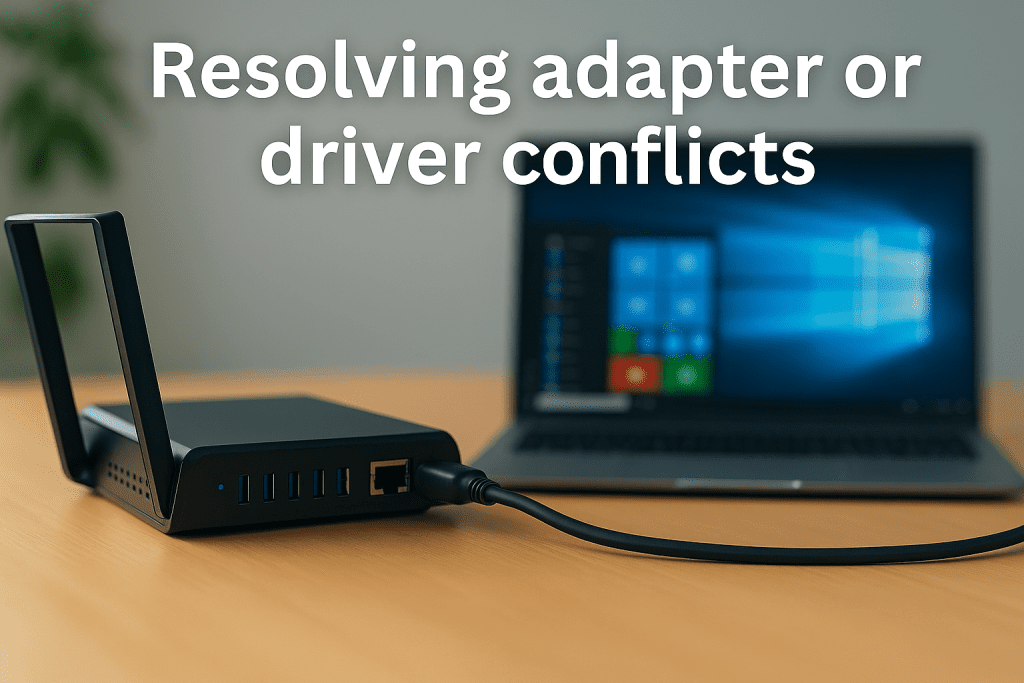
Network adapter conflicts can create mysterious connectivity problems that basic troubleshooting fails to resolve. Consider resetting network settings when:
- You notice frequent network adapter failures or unresponsiveness
- Your PC connects to Wi-Fi but shows limited or no internet access
- Disabling and re-enabling your network adapter temporarily fixes issues
- Driver updates or changes create new connection problems
Initially, try updating your network adapter drivers and disabling power-saving features in Device Manager. If these steps fail, proceed with a network reset to eliminate potential configuration conflicts.
After malware removal or system changes
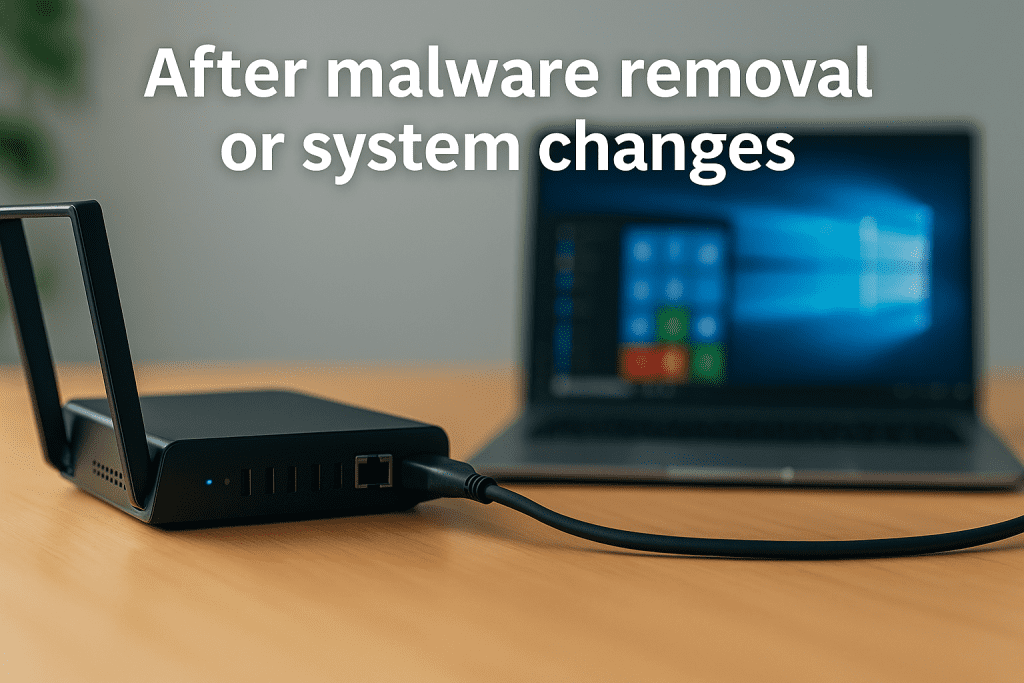
System alterations can disrupt network functionality in unexpected ways. Reset your network settings after:
- Removing malware or viruses from your system
- Installing major Windows updates or feature upgrades
- Making significant hardware changes
- Experiencing connection problems following security software installation
Some malware specifically targets network configurations to maintain persistence on your system. Accordingly, resetting network settings ensures any lingering changes made by malicious software are completely removed, restoring your connection to a clean state.
How to Reset Network Settings in Windows 10
Windows 10 offers multiple ways to reset network settings depending on your comfort level with different tools. Whether you prefer the user-friendly Settings interface or more powerful command-line options, I’ll guide you through each method.
Using the Settings app
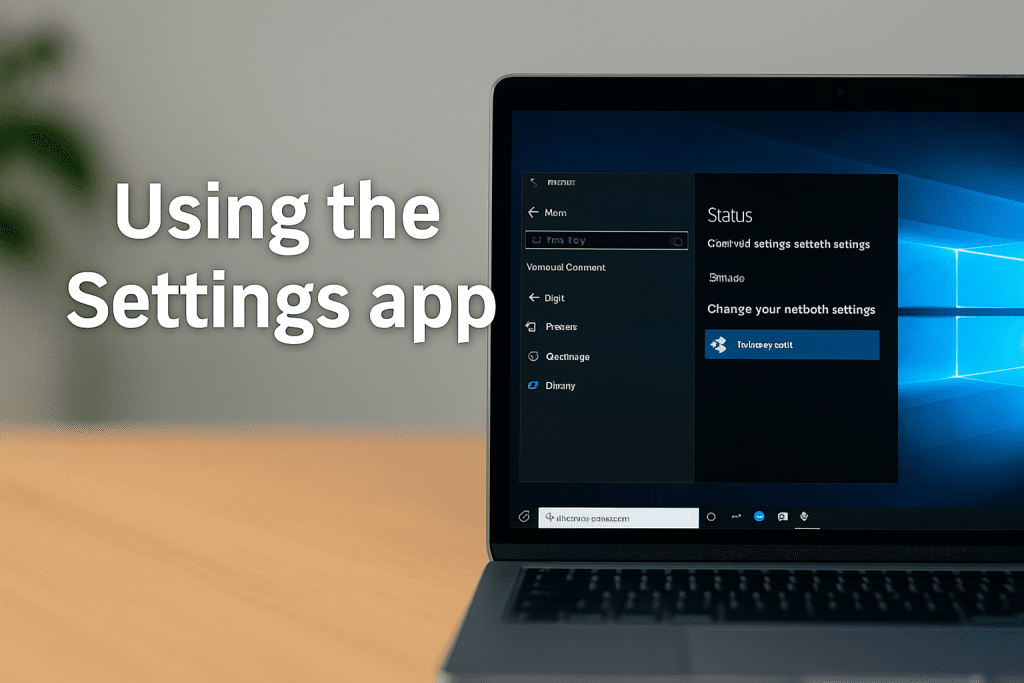
The most straightforward approach to reset network settings in Windows 10 is through the built-in Settings application:
- Press Win + I on your keyboard to open Settings
- Navigate to Network & Internet
- Select the Status tab from the left menu
- Scroll down and click on Network reset
- Read the warning message, then click Reset now
- Select Yes when prompted to confirm
- Your computer will restart automatically after about 5 minutes (though you can restart manually sooner)
Once your PC restarts, you’ll need to reconnect to your networks and re-enter passwords.
Using Command Prompt commands
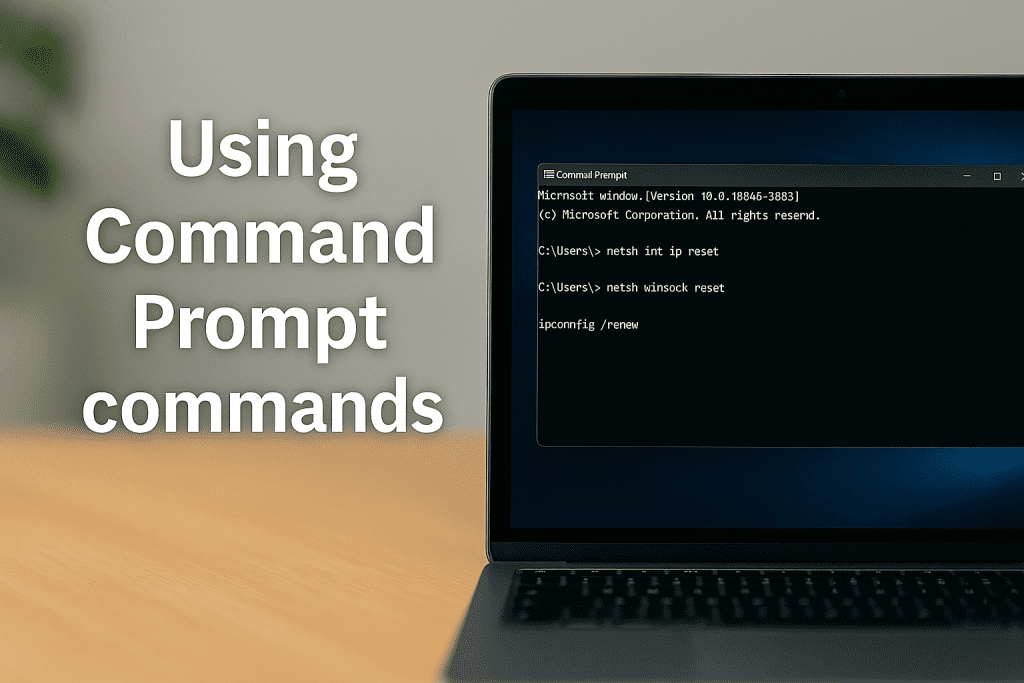
For more granular control, Command Prompt offers powerful options to reset specific network components:
- Right-click the Start menu and select Command Prompt (Admin)
- Enter these commands in sequence:
netsh int ip reset(resets TCP/IP stack)netsh winsock reset(resets Winsock catalog)ipconfig /release(releases current IP address)ipconfig /renew(obtains new IP address)netsh advfirewall reset(optional: resets firewall settings)ipconfig /flushdns(clears DNS cache)ipconfig /registerdns(re-registers DNS names)
- Restart your computer to apply all changes
This method allows you to target specific network components rather than resetting everything.
Using PowerShell for advanced reset
PowerShell provides even more control for advanced users:
- Open PowerShell as administrator
- To reset all network adapters, run:
Get-NetAdapter | Restart-NetAdapter
- To reset a specific adapter, use:
Reset-NetAdapter -Name "Adapter Name"
- For more advanced options, try:
Reset-NetAdapterAdvancedProperty -Name "Adapter Name" -DisplayName "*"(resets all advanced properties)
Notably, you can find your adapter names by running Get-NetAdapter first. Moreover, PowerShell commands allow for remote execution and can be incorporated into larger maintenance scripts for IT professionals.
What to Do After the Reset
After completing a network reset in Windows 10, your computer returns to a clean networking slate. Your system will require several critical configurations to get back online properly. Let’s walk through the essential steps to restore full connectivity.
Reconnect to Wi-Fi and re-enter passwords
Once your computer restarts, you’ll notice your network connection is inactive. This occurs because the reset completely removes all saved Wi-Fi networks from your system. To reconnect:
- Click the network icon in your taskbar
- Select your Wi-Fi network from the list
- Click “Connect” and enter your password
Remember that Windows now views all networks as new connections. Hence, you’ll need to manually re-enter passwords for each network you previously used. Additionally, your network profiles revert to their default state—typically set as “Public”—so adjust your network type if needed for proper security settings.
Reconfigure VPNs and proxy settings
Beyond basic connectivity, you’ll need to restore any specialized network configurations:
For VPN users, the reset removes all previously configured connections. You must reconfigure any VPN clients or similar networking software with your credentials and connection settings. In some cases, uninstalling and reinstalling problematic VPN applications might resolve lingering issues that caused connectivity problems initially.
To restore proxy settings:
- Open Start menu and type “Internet Options”
- Select the “Connections” tab
- Click “LAN settings”
- Check “Use a proxy server” and enter your proxy address
Check for driver updates and test connection
Finally, verify your network adapters are functioning correctly:
Open Device Manager, expand “Network adapters,” right-click your adapter, and select “Update driver.” You can let Windows search automatically or manually install drivers downloaded from your manufacturer’s website. For persistent issues, consider uninstalling the network adapter entirely (without deleting driver software) and restarting—Windows will automatically reinstall it.
Test your connection by running a ping test in Command Prompt. Type “ipconfig” to find your default gateway, then “ping [gateway address]” to verify basic connectivity. If problems persist, updating firmware on your router may help resolve compatibility issues.
Conclusion
Resetting network settings stands as a powerful solution for frustrating connectivity problems in Windows 10. Throughout this guide, we’ve explored how this comprehensive reset works by essentially giving your network configuration a fresh start. Most importantly, you now understand that this tool affects multiple components simultaneously – from Wi-Fi networks and VPNs to adapter configurations and TCP/IP settings.
Remember, network reset works best as a last resort after other troubleshooting attempts fail. The process might seem drastic at first, but this approach often resolves issues that targeted fixes cannot address. Whether you’re dealing with persistent connection problems, adapter conflicts, or cleaning up after malware removal, the methods we’ve covered provide effective solutions.
Depending on your comfort level, you can choose between the user-friendly Settings app, the more precise Command Prompt commands, or the advanced capabilities of PowerShell. Each method achieves similar results while offering different levels of control over the process.
After completing your reset, don’t forget the critical follow-up steps. You’ll need to reconnect to your networks, reconfigure any VPNs or proxies, and potentially update drivers. Though this might require some initial effort, the reward is a properly functioning network connection free from the accumulated issues that were causing problems.
Ultimately, network resets give you a reliable way to eliminate stubborn connectivity issues without resorting to more extreme measures like reinstalling Windows. Armed with the knowledge from this guide, you can confidently troubleshoot and resolve even the most persistent network problems on your Windows 10 system.